
Understanding the Development Workflow
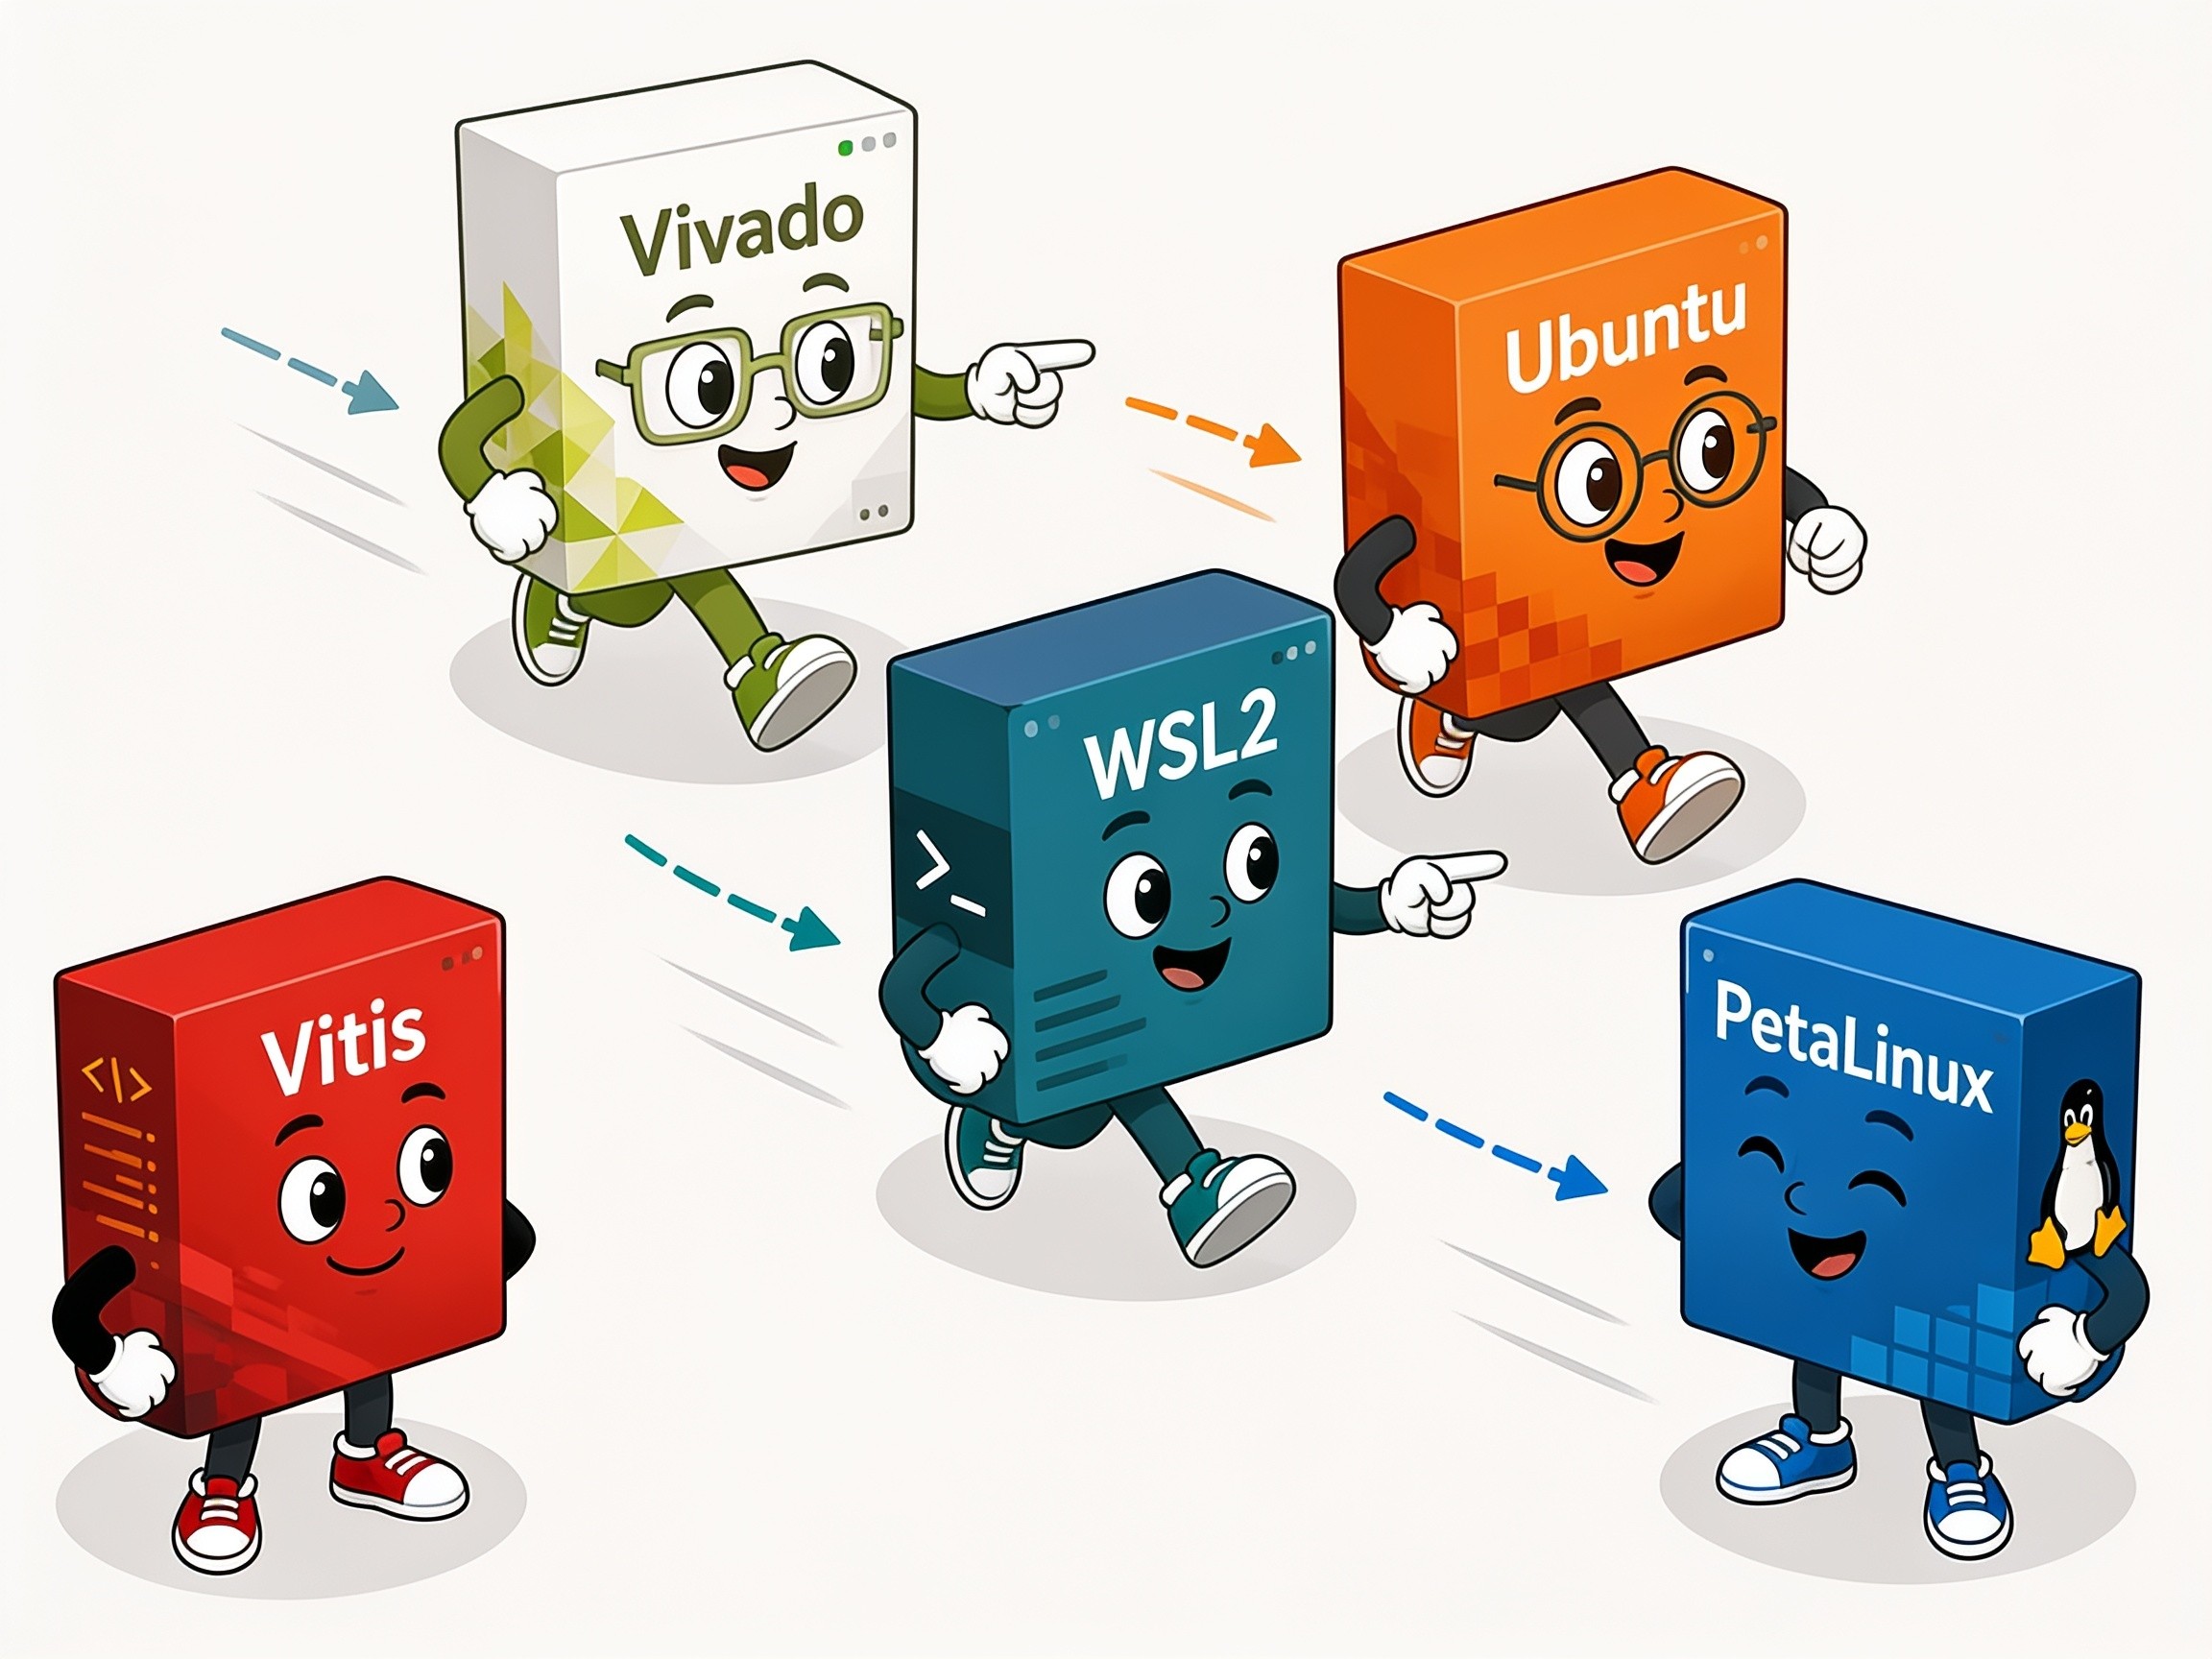
Building an embedded Linux system for the ZYBO requires several different tools because we are really building two systems at the same time: the programmable hardware inside the FPGA and the software that will run on the ARM processor.
For this tutorial series, the overall development path will look like this:
Vivado → XSA → PetaLinux → Bootable ZYBO System
Each step passes information to the next. Vivado defines the hardware, the XSA describes that hardware to the software tools, and PetaLinux uses that information to build a Linux system specifically for our ZYBO design.
Start with the Hardware: Vivado
Our development begins in Vivado.
Vivado is where we describe the hardware implemented inside the Zynq device. This includes both the configuration of the ARM Processing System and any custom logic that we place in the Programmable Logic.
For example, our Vivado design may contain:
The Zynq Processing System
DDR memory configuration
Ethernet
UART
GPIO
AXI interfaces
Custom FPGA peripherals
Vivado then synthesizes and implements the design before generating the FPGA bitstream.
At this point, however, we have only created the hardware side of the system. Linux still needs to know what hardware exists and how it is connected.
That is where the XSA comes in.
The XSA: Connecting Hardware and Software
Once the hardware design is complete, Vivado exports an XSA, or Xilinx Support Archive.
You can think of the XSA as the handoff between the hardware and software portions of the project.
The XSA contains information describing the hardware platform, including things such as the processor configuration, memory layout, peripherals, addresses, interrupts, and the programmable-logic design.
Instead of manually telling Linux:
“There is a UART here, Ethernet there, DDR at this address, and a custom AXI peripheral over here…”
we give PetaLinux the XSA generated by Vivado.
The workflow now looks like this:
Vivado Hardware Design → XSA → Software Tools
This is also why changes to the hardware can eventually require the software side of the project to be updated. If we add a new AXI peripheral in Vivado, for example, Linux needs to learn that the new hardware exists.
Build Linux with PetaLinux
The next major tool is PetaLinux
PetaLinux takes the hardware description exported from Vivado and uses it as the foundation for an embedded Linux system.
PetaLinux handles several pieces required to boot Linux on the ZYBO, including:
The Linux kernel
U-Boot bootloader
Device tree
Root filesystem
Boot scripts
Hardware-specific configuration
This is an important distinction:
Vivado does not build Linux, and PetaLinux does not design the FPGA hardware.
Vivado creates the hardware platform.
PetaLinux builds an operating system that understands that platform.
Together, they create the complete embedded system.
Create the Bootable System
After PetaLinux successfully builds the project, we can generate the files required to boot the ZYBO from an SD card.
During this tutorial, you will encounter files such as:
BOOT.BIN
boot.scrimage.ub
and the Linux root filesystem.
These files perform different parts of the startup process, but together they take the board from power-on to a running Linux command prompt.
At a high level, the process becomes:
Power On → Bootloader → FPGA/Hardware Initialization → Linux Kernel → Root Filesystem → Linux Shell
Later in the tutorial we will examine these files more closely. For now, the important point is that the files produced at the end of the PetaLinux process are the result of everything we configured earlier.
The Complete Workflow
The complete development process can therefore be thought of as a chain:
Vivado
Design and configure the Zynq hardware.
Generate the Bitstream
Compile the programmable-logic portion of the design.
Export the XSA
Package the hardware description for the software tools.
PetaLinux
Import the XSA and configure Linux for the hardware.
Build the Linux System
Generate the kernel, device tree, root filesystem, bootloader, and supporting files.
Prepare the SD Card
Copy the required boot files to the card.
Boot the ZYBO
Insert the SD card, power on the board, and connect to Linux through the serial console.
Once Linux is running, we can begin doing the interesting part: interacting with our custom FPGA hardware from Linux.
Where Does Vitis Fit?
You may have noticed that we also installed Vitis, even though it does not appear prominently in the workflow above.
Vitis is primarily the software-development environment for applications running on AMD/Xilinx processors and programmable platforms. It becomes particularly useful when developing bare-metal applications, standalone firmware, or more advanced software that interacts with our hardware.
For the initial embedded Linux system in this tutorial, however, our main path is:
Vivado → XSA → PetaLinux → ZYBO
We will introduce additional tools when we actually need them.